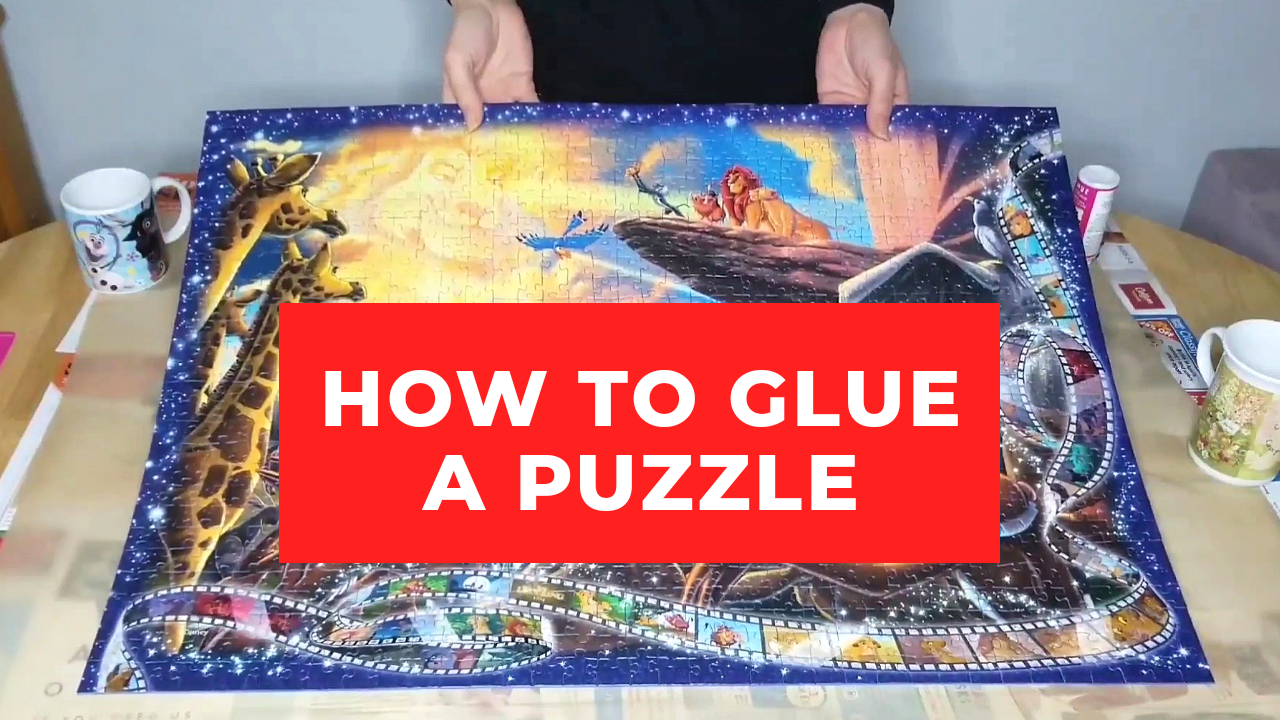
You have completed your awesome puzzle and after all those hours of work it seems a shame to just pack it all up back into its box. Well, there is another option, you could glue your puzzle together and display it instead. It’s really not complicated so here is how to glue a jigsaw puzzle together.
What You Need
Puzzle glue (We use Mod Podge)
Sponge brush / Paint brush
Parchment / Non-sticking plastic
Instructions
Click here to watch my video demonstrating how to glue a puzzle together
1. Find a hard flat surface to glue your puzzle on. If you have not built your puzzle yet then build it on top of a surface prepared for gluing (see step 2).
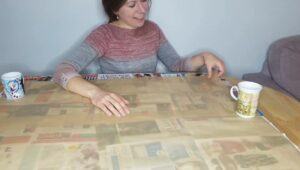
2. Protect your surface (the puzzle glue will drip through the puzzle piece grooves). Ideally use parchment paper or non-sticking plastic (you can put a layer of old magazines or newspapers under the parchment or plastic to be extra careful). Make sure your protective layer is slightly larger than your puzzle.
3. Transfer your puzzle onto the surface for gluing. If your puzzle pieces fit tightly together you can just lift it up and on top. If your puzzle is already on a surface suitable for gluing then slide parchment underneath the puzzle. Alternatively move your puzzle in pieces on top of the gluing surface.
4. Check that there is no dust on your puzzle. If there is any dust then use a damp piece of kitchen towel to wipe down your puzzle and allow it to dry.
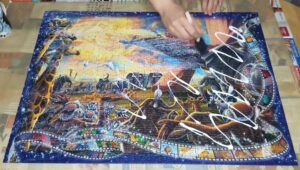
5. Evenly pour your puzzle glue over the puzzle and use the sponge brush to evenly spread it over the whole puzzle (the glue will appear white at first but do not worry it will dry clear). Try to ensure the glue reaches all the puzzle piece grooves. 
6. Clean your puzzle brush with warm soapy water and leave your puzzle to dry for a few hours.
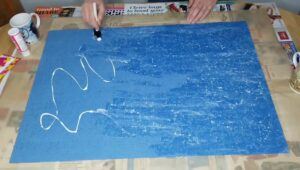
7. Time to flip your puzzle over and glue the back. The puzzle will stick to the parchment / plastic in areas a little, just tear these off. Put clean parchment / plastic down and repeat the gluing process on the back of the puzzle.
8. Clean your brush and leave the back of the puzzle to dry for a few hours.
9. Remove your puzzle from the parchment / plastic (to add extra stability you can repeat the gluing the process to the front and / or back of the puzzle as in steps 5-7 ) and woohoo you have a glued puzzle ready for framing, mounting or sticking onto your wall.
Read our review on Mod Podge Puzzle Saver Glue here
See our video demonstrating how to glue a puzzle below


That’s exellent. It’s always been a struggle put the puzzle together. Thank you for your tips.
You are welcome, I’m happy to hear you found these tips helpful!
Quite a few steps to take, but it seems simple enough. I would be nervous to drop some of the pieces when I transfer the puzzle over to the paper or plastic. What is the best place to buy this puzzle glue? Why is it necessary to spread the glue over the pieces on top? Is that done to prevent them from falling off?
If a few pieces to fall when transferring you can pop them back into place to move the puzzle in sections (as I did in my video). Yes gluing the puzzle on both sides helps to ensure the puzzle sticks together. I used the Mod Podge Glue in my example but I have also reviewed some other glues, you read these reviews here.
Hi Maddie,
I’ve always wondered how people do this! I’ve seen glued-together puzzles hung up places, but had no idea how to do it, and I definitely would have never guessed that you put glue on the front of the puzzle! That seems like it would feel super weird, especially with the glue going on white!
I’m not a big puzzle person myself, but my grandma is, and she has done some insane puzzles. I always thought it seemed like a waste when she put in all the work that she did and then had to put it all back in the box. This might be a great alternative (although she’d probably run out of wall space eventually).
Thanks for such an informative guide for gluing puzzles together!
~Jade